

Hello crafty friends! Welcome to the launch of Simon Says Stamp’s DieCember Party! If you want a list of all of today’s participants, you can head on over to the Simon Says Stamp DieCember Party blog post HERE.


I created two cards to share with you today using the new Fanciful Joy Die Set. I combined this set with previously released items that you may already own so that you might be able to create a similar card if you choose to do so.


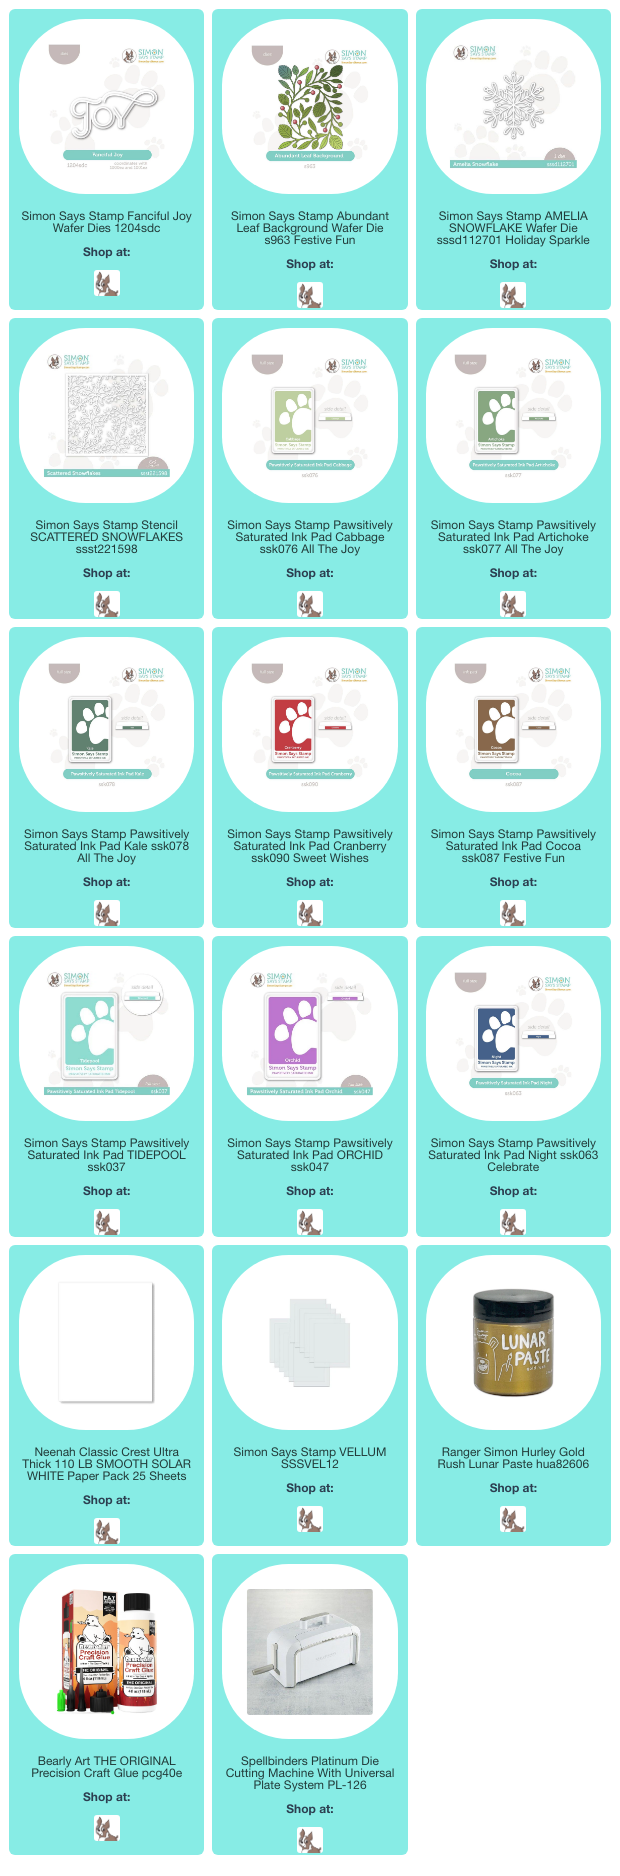
For my first card, I combined the Fanciful Joy Die Set with the recently released Abundant Leaf Background Die. I first die cut my background 4x’s from white card stock. I kept one of my cuts inside of the negative piece in order to easily ink blend it without bending the delicate pieces. For my blending, I used a mix of Cabbage, Artichoke, and Kale Pawsitively Saturated Inks.
(If you’ve never used Simon Says Stamp’s collection of Pawsitively Saturated Inks, you’re missing out! The ink glides on smoothly and is so vibrant and well…saturated! 😁 You can check out their amazing collection of Pawsitively Saturated Inks HERE)

I also used some Cranberry and Cocoa Inks to add some color to my berry pieces. Once I was done ink blending, I then glued my four background foliage pieces together with some Bearly Art Precision Craft Glue, making sure to place my ink-blended piece on top.

To give some added texture, I next spattered some diluted Copic Opaque White Paint and diluted Simon Hurley Gold Rush Lunar Paste on top of my foligage. Once dry, I then placed this piece onto my white A2 card base that I had layered with a 3.75″ x 5″ piece of Sage Card Stock from Spellbinders. Lastly, I die cut my sentiment base from a piece of heavy vellum paper and the word JOY twice (once from white and once from red card stock) and layered my pieces together before adhering it to the center of my card.

For my second card, I created a 3.75″ x 5″ ink-blended background that I placed on top of my vertical white A2 card base. For my ink-blended panel, I used a 4″ x 5.25″ piece of Neenah Solar White 110lb Card Stock and randomly blended it with Tidepool, Orchid, and Night Inks. I then added some water spatters and blotted it dry with a paper towel.

Once dry, I then used the Scattered Snowflakes Stencil and added some Tim Holtz Translucent Grit Paste for a subtle look of snowflakes. I allowed this piece to dry and then added a few spatters of diluted Copic Opaque White Paint as well as some pieces of a snowflake that I had die cut using the Amelia Snowflake Die. Lastly, I added my sentiment in the top middle portion of my card.

Thanks so much for taking the time to stop by! Affilated links were used where applicable at no extra cost to you. Thank you for your continual support!



Great cards! I love the fluidity.
Thanks so much, Lori! 🤗