Hello crafty friends! I have some super fun 3D Easter/spring bunny baskets to share with you today that feature items from the latest Pretty Pink Posh Release. All product links can be found at the bottom of this post. (Affiliated links were used where applicable at no extra cost to you.)
CLICK HERE TO JOIN THE INSTAGRAM HOP FOR A CHANCE TO WIN PRIZES!


These baskets were a lot of fun to make and didn’t take too much time. For a closer look on how I made them, please check out my video reel in the link above.
How to recreate these cards:
- Trim two pieces of colored card stock (I used different colors for different baskets) to 5″ x 1 1/2″
- Score each piece at 3″ and 4 1/2″ and fold along the creases to create a base
- Adhere both pieces together at the 1/2″ tabs with some liquid adhesive to create a rectangular box that folds flat
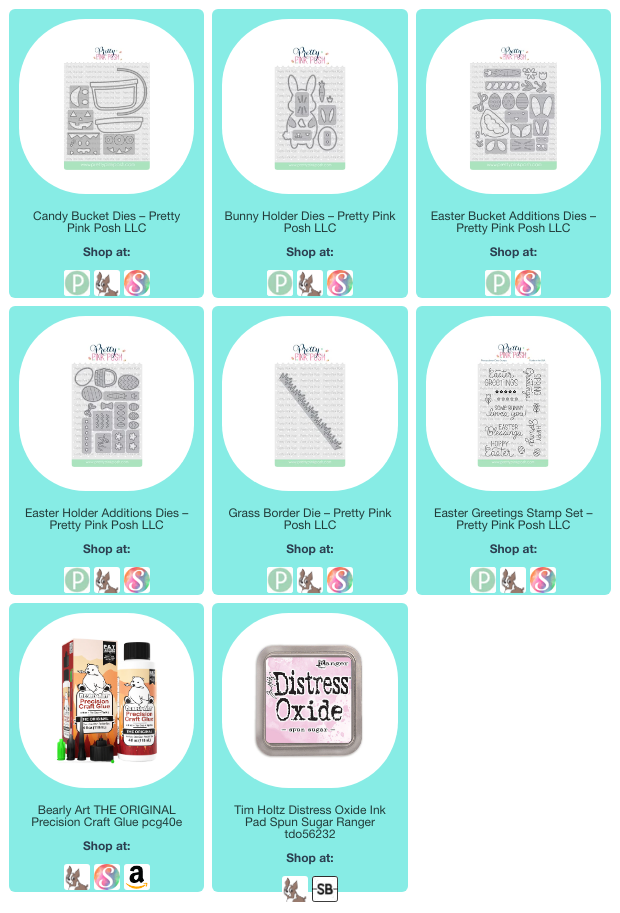
- Die cut two large basket pieces using the Candy Bucket Dies and glue them to your rectangular box base right at the point where the box will not show when the baskets are facing forward.
- Trim three more pieces of the same colored card stock to 3 3/4″ x 1/2″ and score at 3/8″ from both sides to create tabs.
- Adhere these strips to the inside of your rectangular box to create shelves
- Die cut all of your bunny pieces from the Bunny Holder Die Set and then glue bunny to the front inside of the basket right where his feet should be touching the ground. (Note: If you want to add eye lashes, do this step with a very fine black pen before you adhere your bunny into the basket.)
- Use one of the dies from the Candy Bucket Die Set to die cut the bunny’s hands. This piece is actually meant for eyeballs, but the size and shape work perfectly for the bunny’s paws on the front rim of the basket. Attach with liquid adhesive.
- Die cut pieces for what you want to put into the basket. I used the Easter Bucket Addition Die Set to die cut carrots, Easter eggs, tulips, and flowers to put into each of my baskets.
- Die cut the basket handles (using the Candy Bucket Die Set) four times and glue two sets of two handles together for added rigidity and strength. Next, adhere the handles to the front and back pieces of the basket.
- If you want to add a hair bow or bow tie to your bunny, I used the Easter Holder Additions Die Set for these pieces.
- Lastly, die cut your front layer for your basket (using the Candy Bucket Die Set) and stamp your sentiment before attaching it to the front of your basket. All of my sentiments came from the newly released Easter Greetings Stamp Set.


This basket above is filled with some fun little carrots from the Easter Bucket Addition Dies.


For this basket, I added some tulips once again using the Easter Bucket Additions Die Set.


This basket is filled with flowers using the same Easter Bucket Addition Dies as the rest of my projects.

Thanks so much for dropping by! I hope you check out this amazing new release and also join me on Instagram for a chance to win prizes!