Hello crafty friends! I have two simple, monochromatic cards to share with you today that feature the gorgeous Beautiful Stamp Set from Pinkfresh Studio. I made these two cards using the same colors and most of the same products.

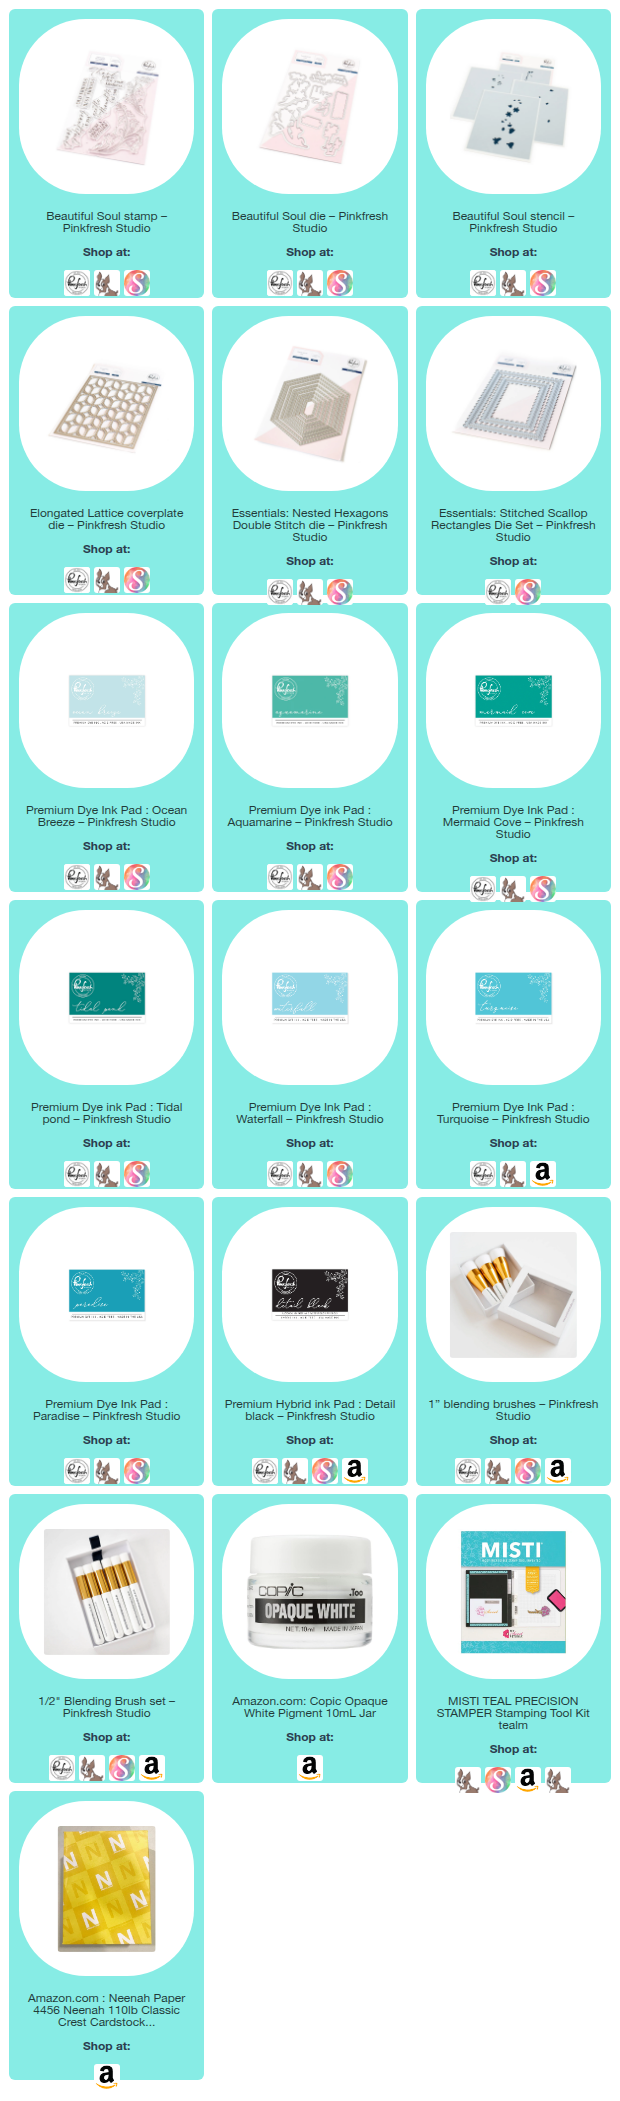
For my first card, I used the previously released Elongated Lattice Coverplate Die to die cut a lattice from some teal card stock. I then die cut a scalloped frame from white card stock using the largest of the Stitched Scallop Rectangle Die Set. This die actually die cuts two rectangular scalloped pieces at once (One outer layer and one inner layer) I pulled the pieces apart and used the outer piece to overlay my lattice piece after I had trimmed the edges of the lattice piece off with some scissors.

I then attached the framed lattice piece to a dark teal 4.25″ x 5.5″ card base with liquid adhesive. Next, I die cut a double stitched hexagon from white card stock and stamped my sentiment (from the Beautiful Soul) stamp set onto the center of it with Detail Black Ink.
I then stamped my floral images twice (which equals 4 flower pieces) onto a sheet of Neenah Solar White 110lb Card Stock and then blended them using the Beautiful Soul Stencil Set as well as some Pinkfresh inks.
- Stencil 1: Ocean Breeze
- Stencil 2: Aquamarine
- Stencil 3: Mermaid Cove (for one of my floral sets, I used Ocean Breeze again – but you can use whatever colors you want)
- Stencil 4: Tidal Pond
I finished my card by adhering the hexagon to the center of my card with dimensional foam tape and then adding my flowers on top of the hexagon with more foam tape for extra depth.

I used the leftover two floral pieces for my second card. I used the same dark teal colored card stock for my card base and the inner scalloped frame that I had leftover from my first card. For my ink-blended background, I trimmed a piece of light blue card stock to slightly less than 3.75″ x 5″ and blended it with Waterfall, Turquoise, and Paradise Inks starting at the lower left corner with my darkest color and working my way to the top left by fading the colors as I went.

I added some spatters of diluted Copic Opaque White Paint for extra texture and allowed it to dry for a few minutes. Once ready, I then stamped my sentiment in the top right hand corner and then attached this piece to my card base.

I trimmed the edges off my floral pieces and glued them to the edge of my ink blended piece and lastly added my white frame to the top.
These cards were easy to make and are easy to recreate. You can use whatever color combos you desire to change up the mood of the card.

Thanks so much for taking the time to stop by! Wishing you all a lovely day! 💗

** Affiliated links were used where applicable at no extra cost to you. **