Hello crafty friends! I have two cards to share with you today that feature some adorable new die set from Spellbinder’s Cheerful Chirps Collection.

You can check out the entire collection HERE or scroll down to the bottom of this post for all specific product links. (Affiliated links used where applicable at no extra cost to you.)

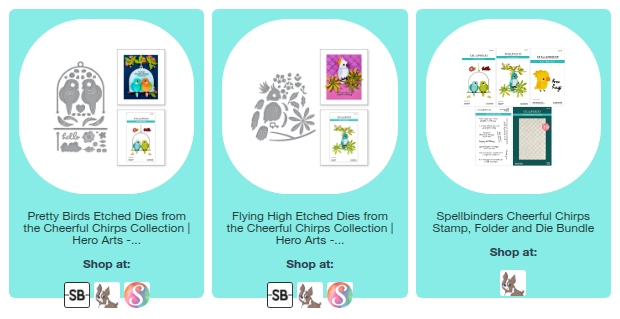
For my first card, I created a fun little shadow box card (featuring the Pretty Birds Etched Dies) that folds easily to fit into a standard 5″x7″ envelope. When upright, this card measures at 5″ tall x 4″ wide x 1.5″ deep.

Shadow Box Step-by-Step:
- Trim two pieces of white card stock to 5″ x 6″
- Score both pieces at 4″ and 5.5″ along the 6″ side and fold along score lines
- Die cut an arch into the front of one of the pieces (I used the 6th largest of the Spellbinders Essentials Arches Etched Dies)
- Add glue to the 1/2″ tabs created in step #2 and piece both base pieces together with the arched window in the front of the card.
- Add one shelf on the inside top and bottom of the card to adhere the second sets of foliage to. These shelves should measure 4.75″ long and 1/2″ wide. Score both pieces 3/8″ from both sides to create tabs to adhere to the insides of the box card.
- Die cut your images and and piece them together.
- Die cut some foliage from green card stock using the Vivid Blooms Etched Dies and add some ink blending (if desired) for added depth.
- Add foliage to the inside of your card
- Add birds and perch to the front of your card.
- Create a 4.75″ x 6″ background and place on the inside back of the card (I had ink blended a panel of white card stock with Evergreen Bough and Salvaged Patina Distress Oxide Ink).

Lastly, I trimmed two small pieces of acetate to adhere to the back of the birds so that I could add a “floating” red heart between them.

My second card features a sweet bird from the adorable Flying High Etched Dies. For this card, I simply die cut my images from the set and pieced them together with some liquid adhesive.

I lightly blended my card background with some Salvaged Patina Distress Oxide Ink before adhering my images with 3D foam adhesive tape. I also added a postage edged frame using the Nested Postage Labels & Tag Etched Dies.

I hope you enjoyed my cards today! Wishing you all a lovely day! 💕