

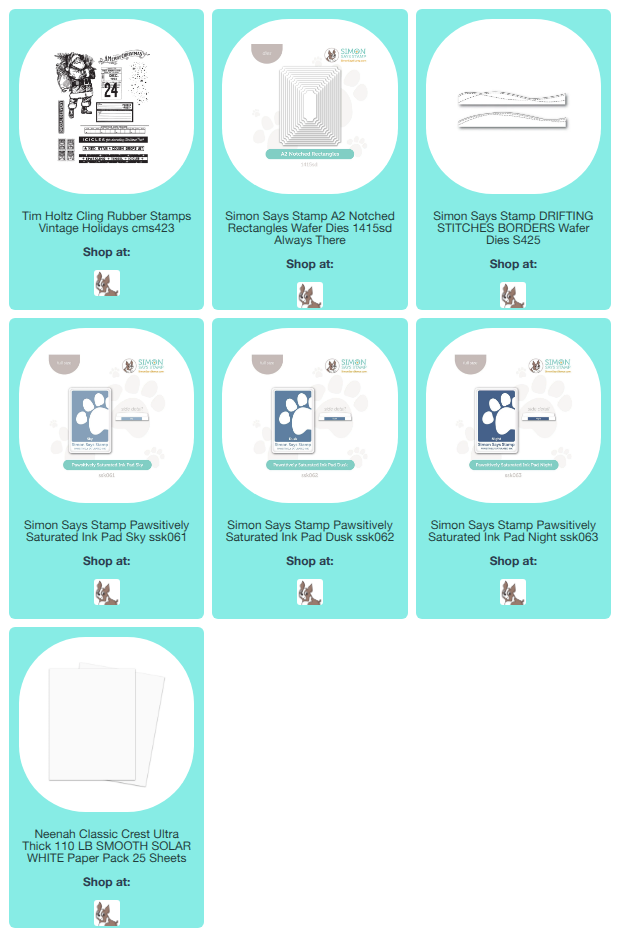
Hello crafty friends! I’m thrilled to announce that Simon Says Stamp has created coordinating dies to some of the previously released Tim Holtz rubber Christmas stamp sets! Tim Holtz creates the most amazing designs, so I highly encourage you to check them out! I have a project to share with you today that showcases the Vintage Holidays Stamp Set and coordinating Vintage Holidays Dies.
Simon Says Stamp recently debuted these stamp sets on their YouTube Channel. You can watch the replay HERE for all the info and tons of gorgeous inspiration!


To start my card, I first stamped my images onto a sheet of Neenah Solar White 110lb Card Stock with Memento Tuxedo Black Ink and colored them with Copic markers (all colors used are listed at the bottom of this post.) I love how the new dies have layered pieces so you can give your images more depth. It’s hard to see in the pictures, but both Santa’s hat, face, and beard have been die cut and layered multiple times for extra dimension.

For my background, I created a festive blue 4.25″ x 5.5″ top folding card base and layered it with a notched rectangle frame by die cutting my frame piece six times (from white card stock) using two of the A2 Notched Rectangles taped together to form a frame. I glued five of the framed pieces together to form my dimensional frame and set them aside to work on my background. For my background, I die cut some smooth white card stock with the larger of the two A2 Notched Retangle Dies and blended it with Simon Says Stamp Pawsitively Saturated Sky, Dusk, and Night Inks. I started with my darkest color at the bottom and worked my way up to the lightest color, eventually fading to white. Once this piece was dry, I then heat embossed some snowflakes onto my card background using the snow stamp that comes with this set. In order to get a detailed look, I used Fine Detail White Embossing Powder.

I added some snow drifts using one of the Drifting Stitches Border Dies with white card stock and added this to my ink blended piece after die cutting the bottom of it with the smaller of the A2 Notched Rectangle Dies so that it fit perfectly inside my dimensional frame. For my “snow”, I added some chunky white glitter that I had sitting around. You can also use the Tim Holtz Chunky Rock Candy Glitter for an even more striking effect. I sealed off my frame and shaker embellishments with a piece of clear acetate that I had die cut with the larger of the two A2 Notched Rectangle Dies and then added my last white frame on top. Lastly, I adhered my Santa with 3D foam adhesive tape and added my sentiment that I had stamped with Dusk Ink.
Copic Colors Used:
- Skin: E000, E00, E13
- Reds: R05, R46, R89
- Greens: G40, G43, G46
- Black: W3, W5
- Beige: E51, E53, E55
- White: 0, C00, C1, C3
- Gold: Y23, Y28

Thanks so much for taking the time to stop by! Make sure to follow me on Instagram for more card making inspiration!



Happy days! Wonderful card, Rachel!
Thank you so much, dear Jeanne! This is the first time I’ve worked with Tim Holtz Christmas stamps, and I absolutely love them! 🥰