
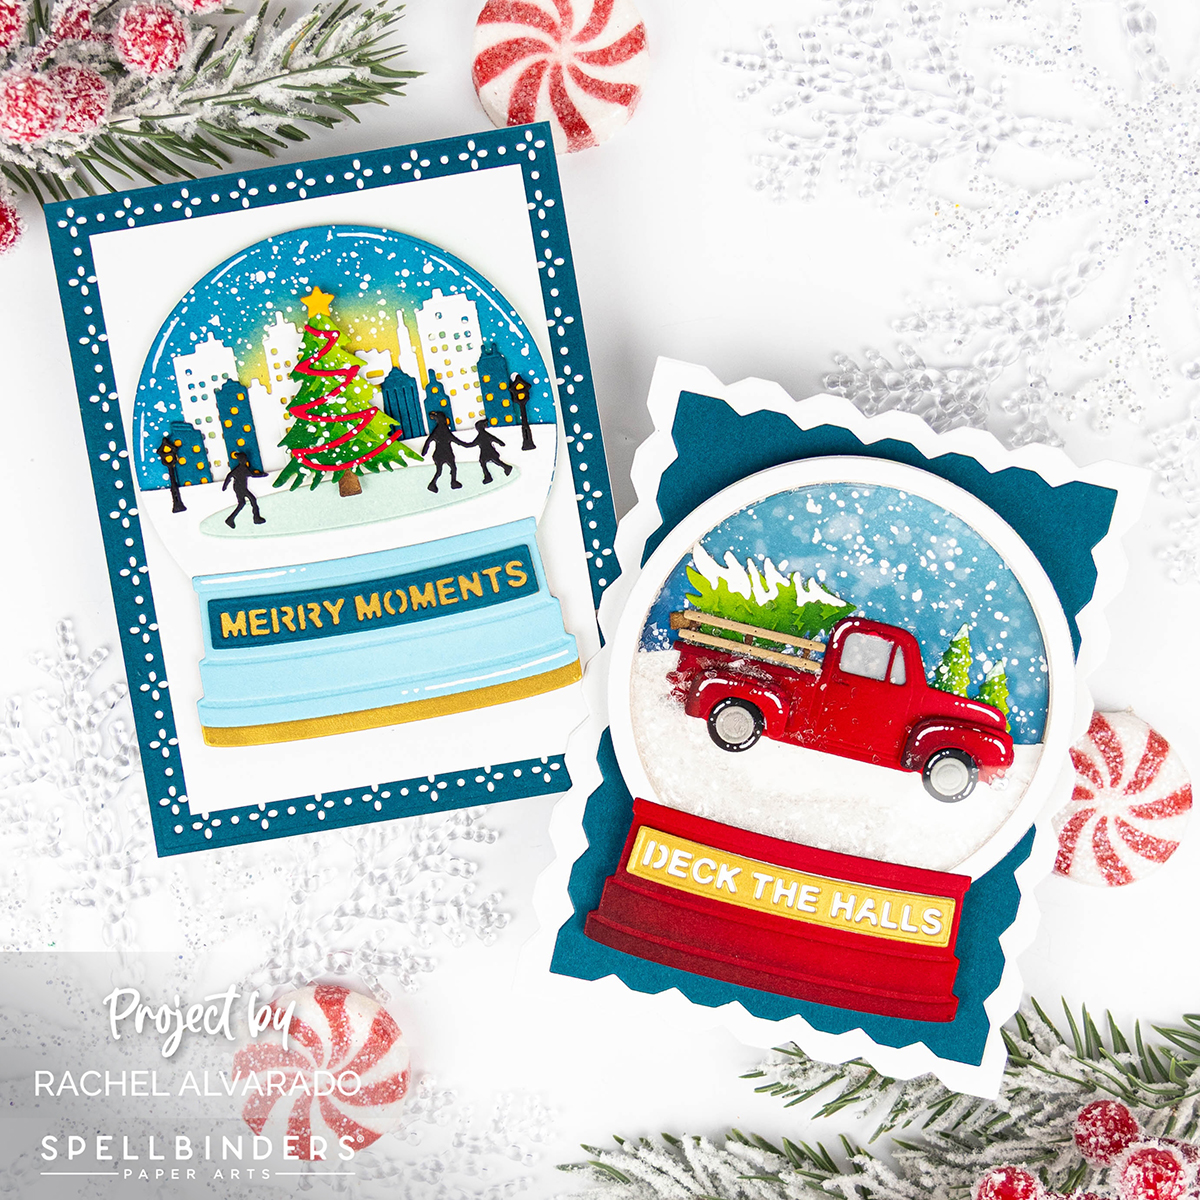
Hello crafty friends! Who else has started on their Christmas cards? No matter how early I begin, I always seem to fall short of my holiday card goals! But today, I’m thrilled to share two festive cards I made using the beautiful new Spellbinders Snow Globe Scenes Collection.
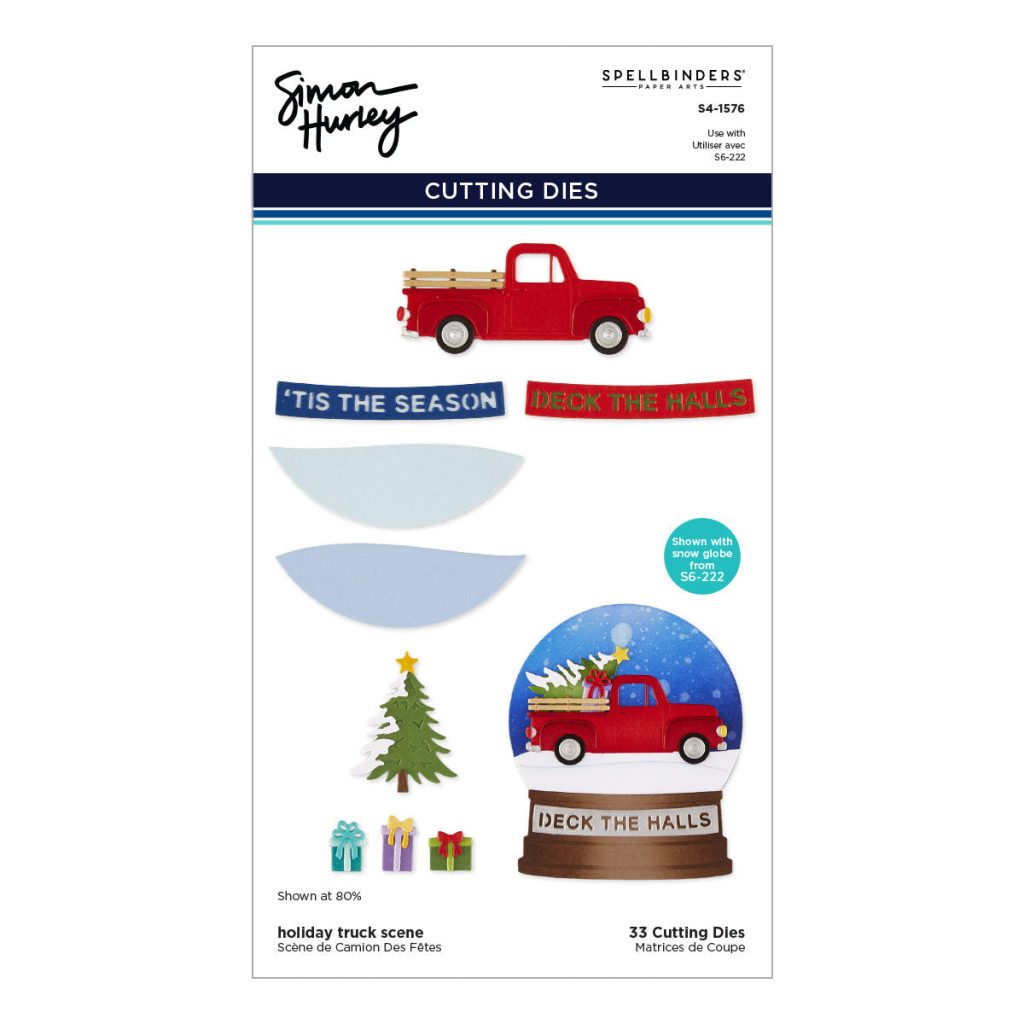
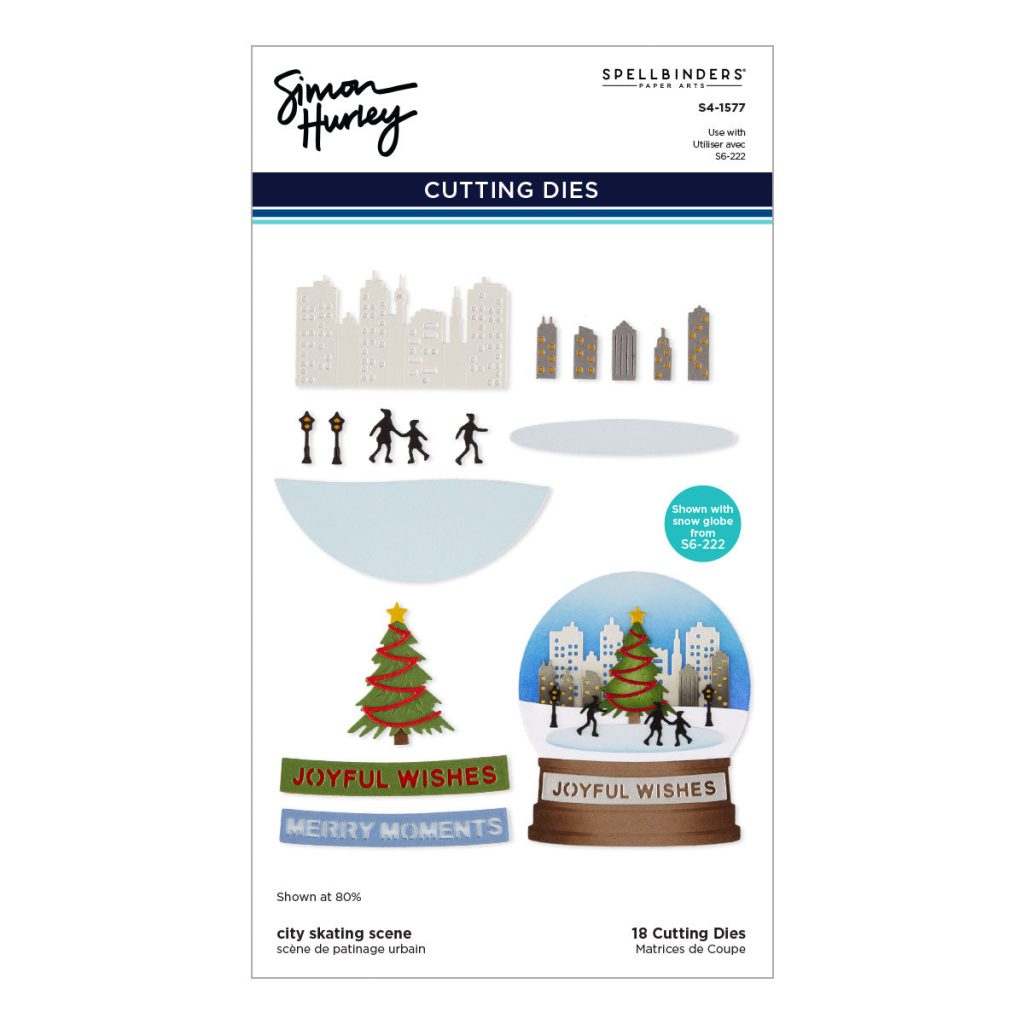
If you like both new scene die sets, there is also a bundle deal that you can check out HERE.
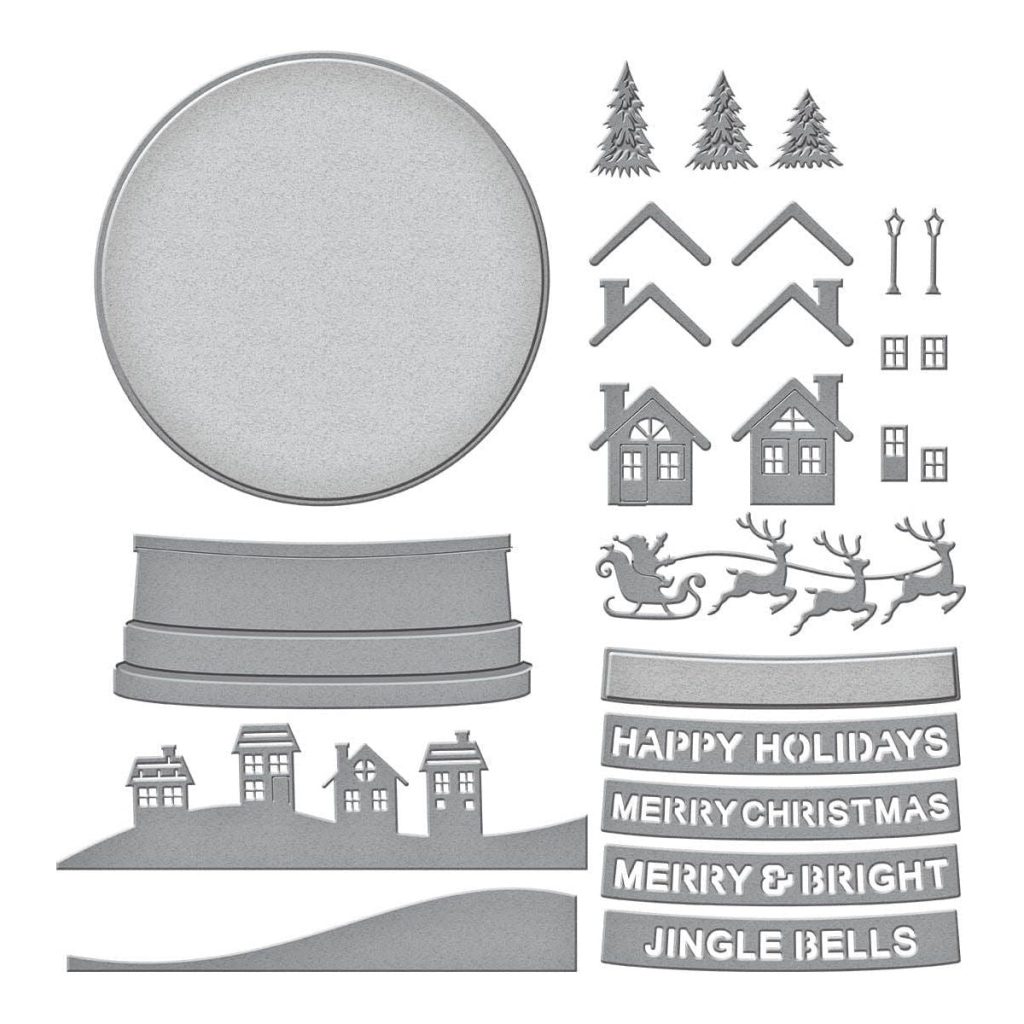
Please note: If you do not have the original Simon’s Snow Globe Etched Dies Set (which is the only one that comes with the snow globe itself), you will need this set. The rest of the sets are accessory sets to the original one shown in the photo above.
Below, you will find three more scenic die sets that complement the snow globe die set. These three sets as well as the original Simon’s Snow Globe Etched Dies Set can also be found in a discounted bundle deal HERE.
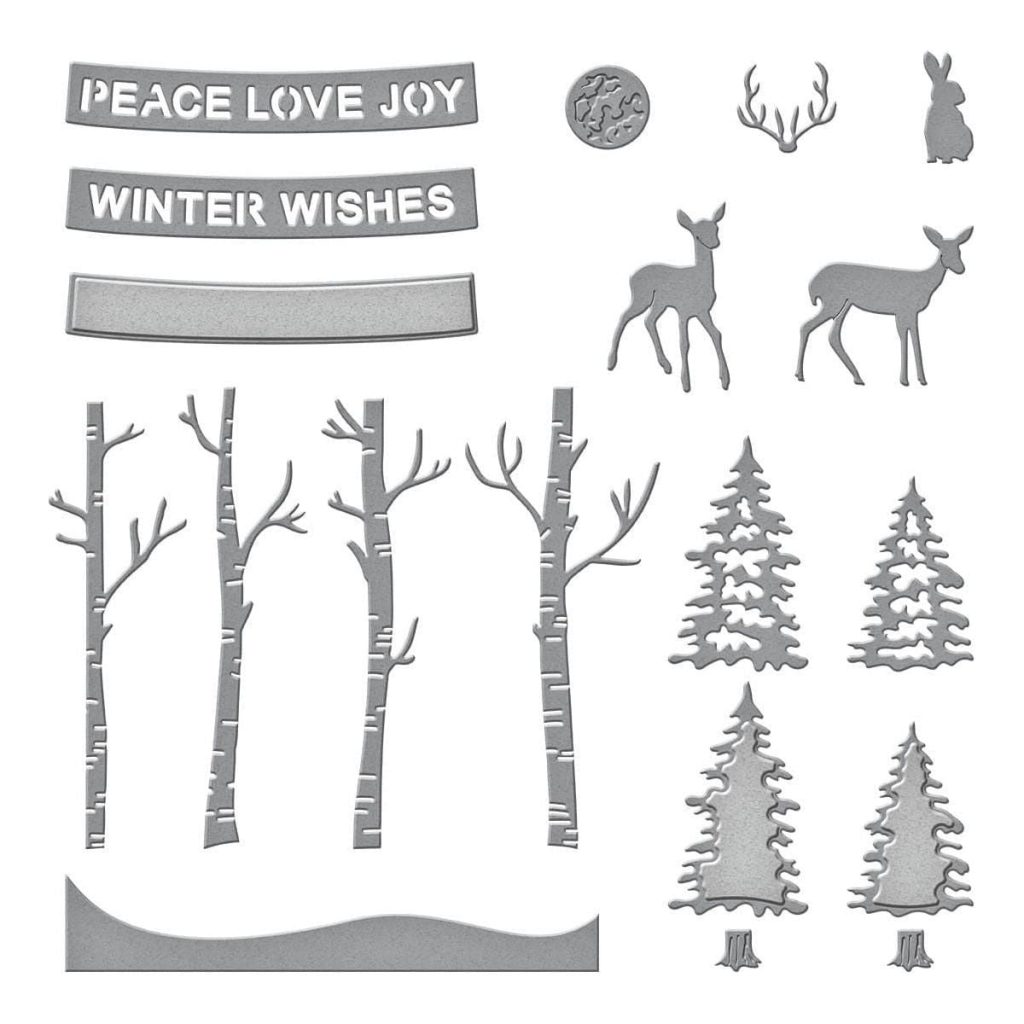
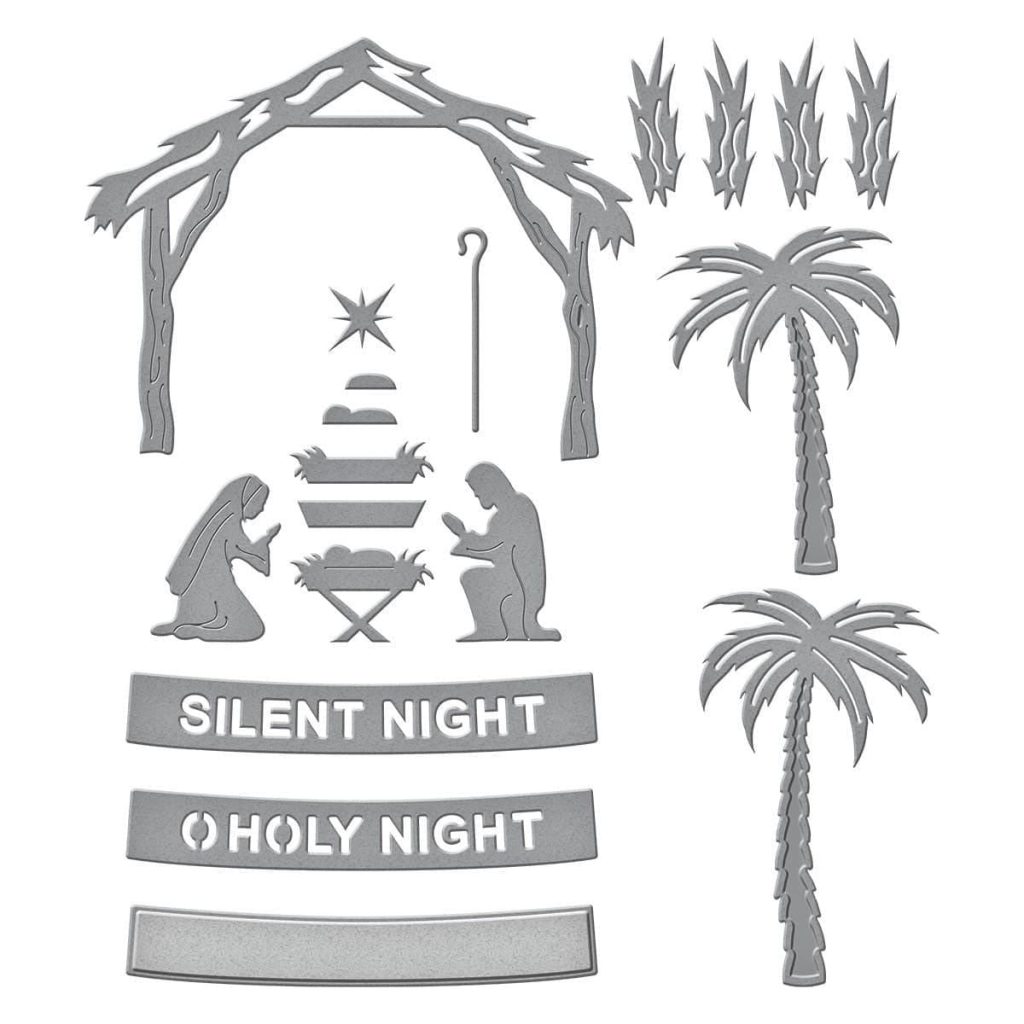
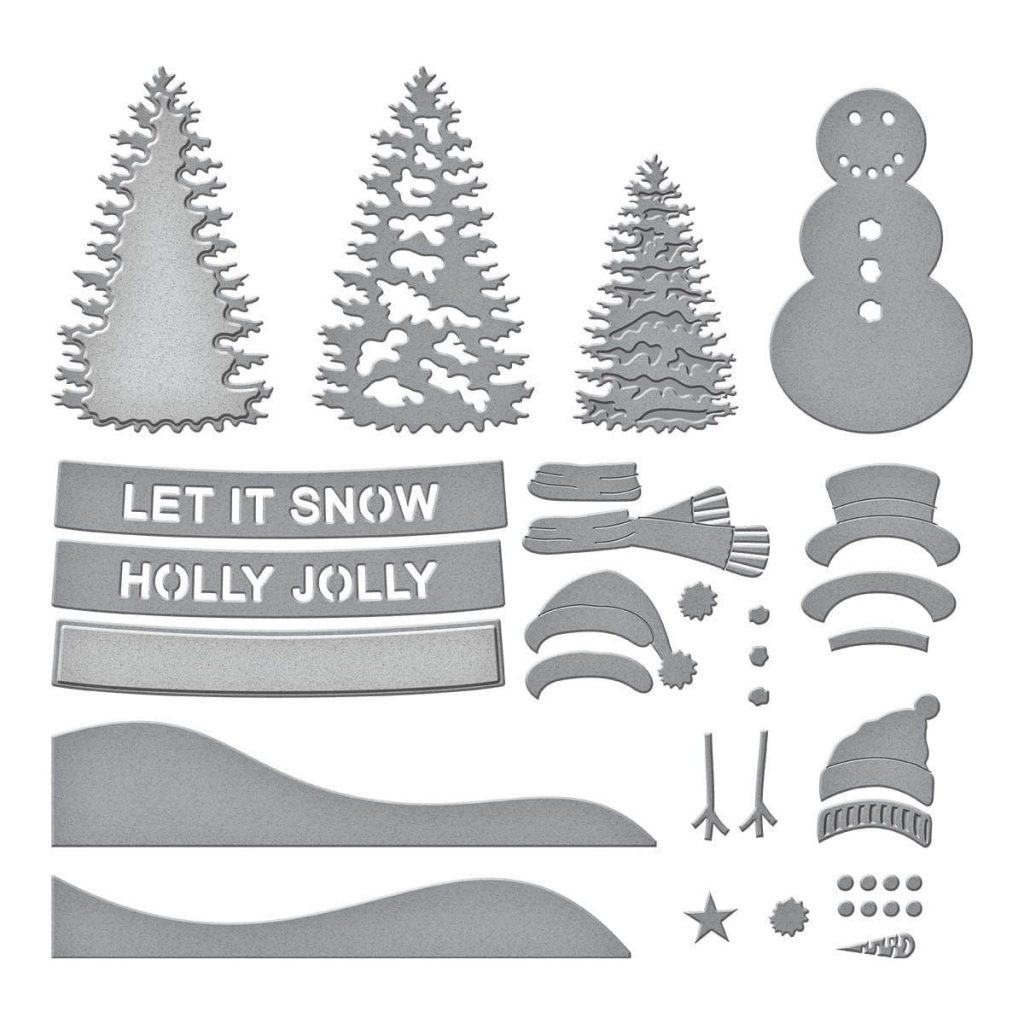
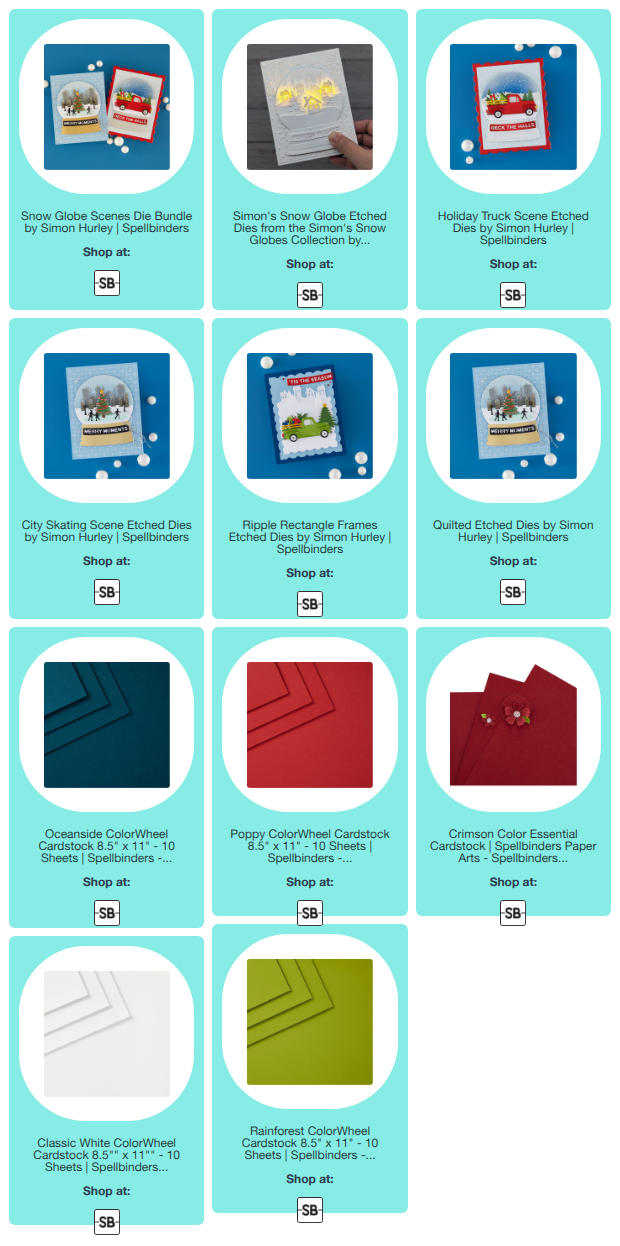
My first card features the following products:
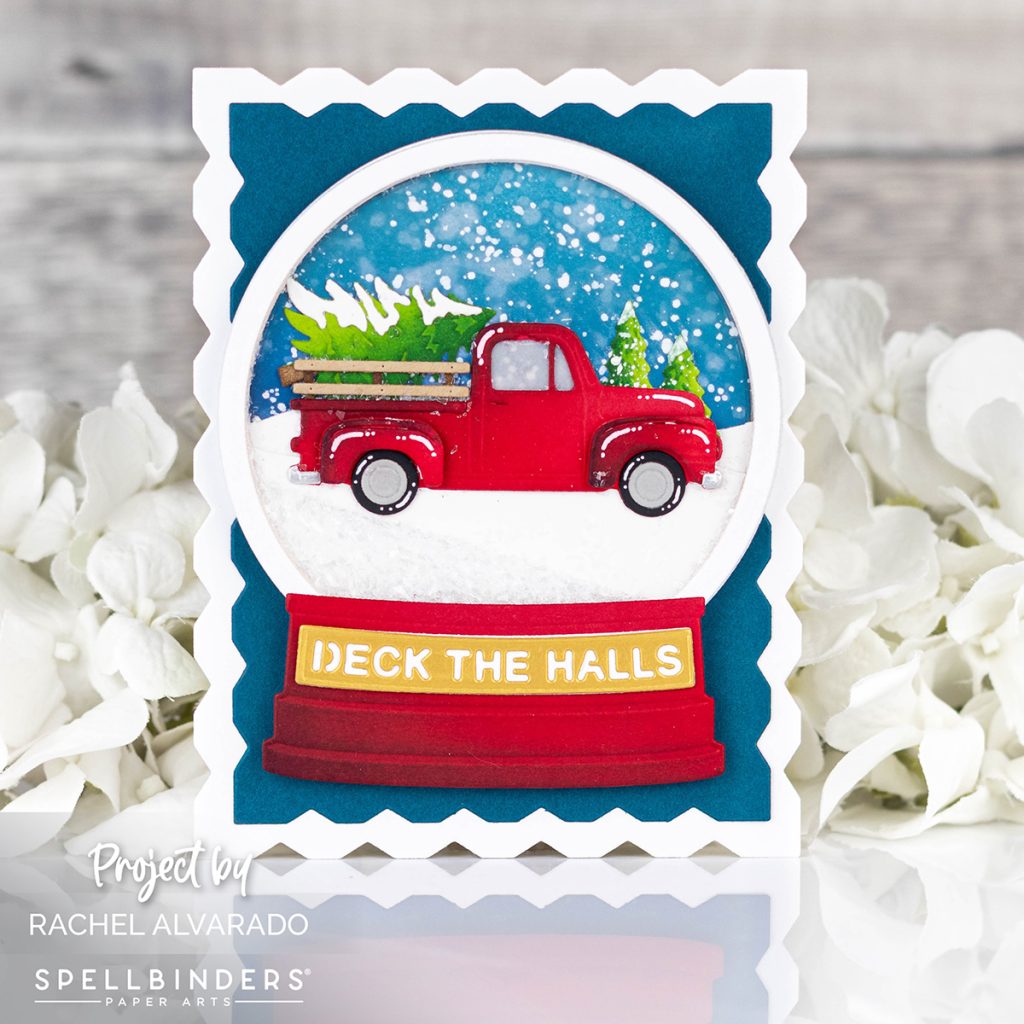
For this card, I created a fun shaker card by using a standard circle die that was slightly larger than the snow globe die. I paired these two circle dies together by taping them and then die cut 8 circular frames from white card stock. I glued 7 of the frames together with liquid adhesive and then set the dimensional circle frame aside to work on my background.
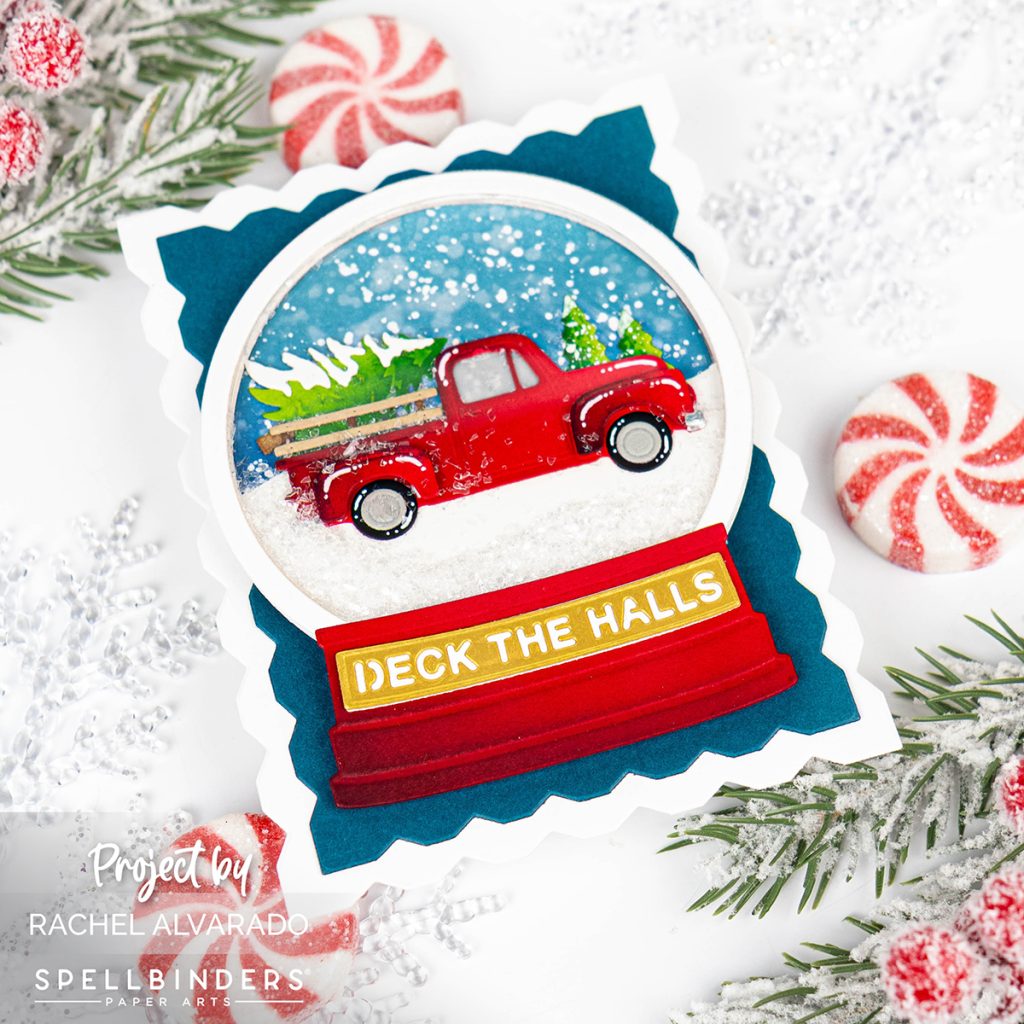
For my background, I die cut another circle using the large circle from the snow globe die and blended it with both Faded Jeans and Stormy Sky Distress Oxide Ink. I used some Spellbinders White Ink Spatter to add some “snow” to my background and then added my snow drifts to the circle once my snowy background had dried.
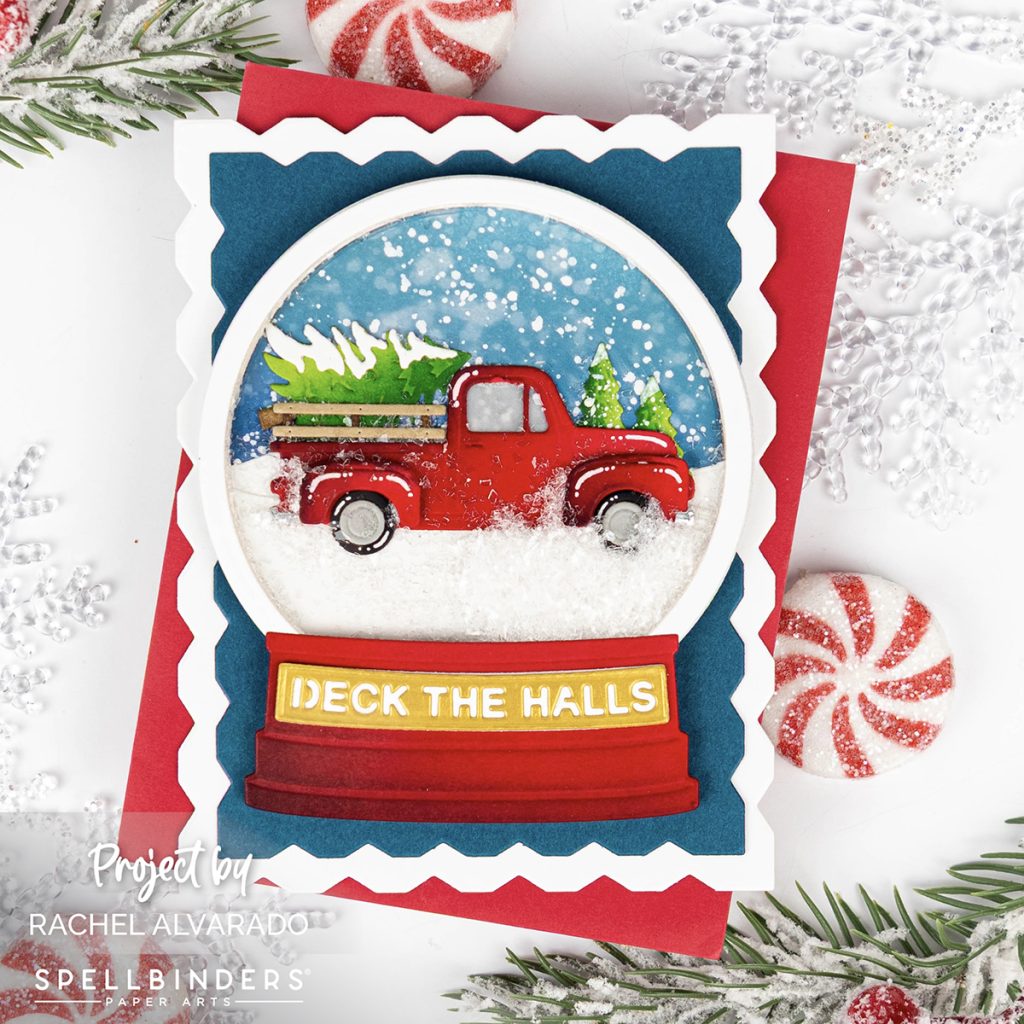
All of my images were die cut from colored card stock pieces. I used similar color-based Distress Inks to add shading to my pieces and white gel pen to add some highlights. Next, I die cut a white base piece and deep blue layer using the new Ripple Rectangle Frames Etched Dies. I added my snow globe to the front of these layers as well as my truck and background trees (that I had die cut using the smaller trees from the Simon’s Snow Globe Etched Dies). I then adhered my circular frame around the outside of my snow globe and filled part of it with chunky white glitter to resemble snow. I used my larger circle die to die cut a piece of clear acetate and glued it to the top of my circular frame to hold in my glitter. Lastly, I added my last white circular frame on top of the acetate for a clean look.
My second card features the following products:
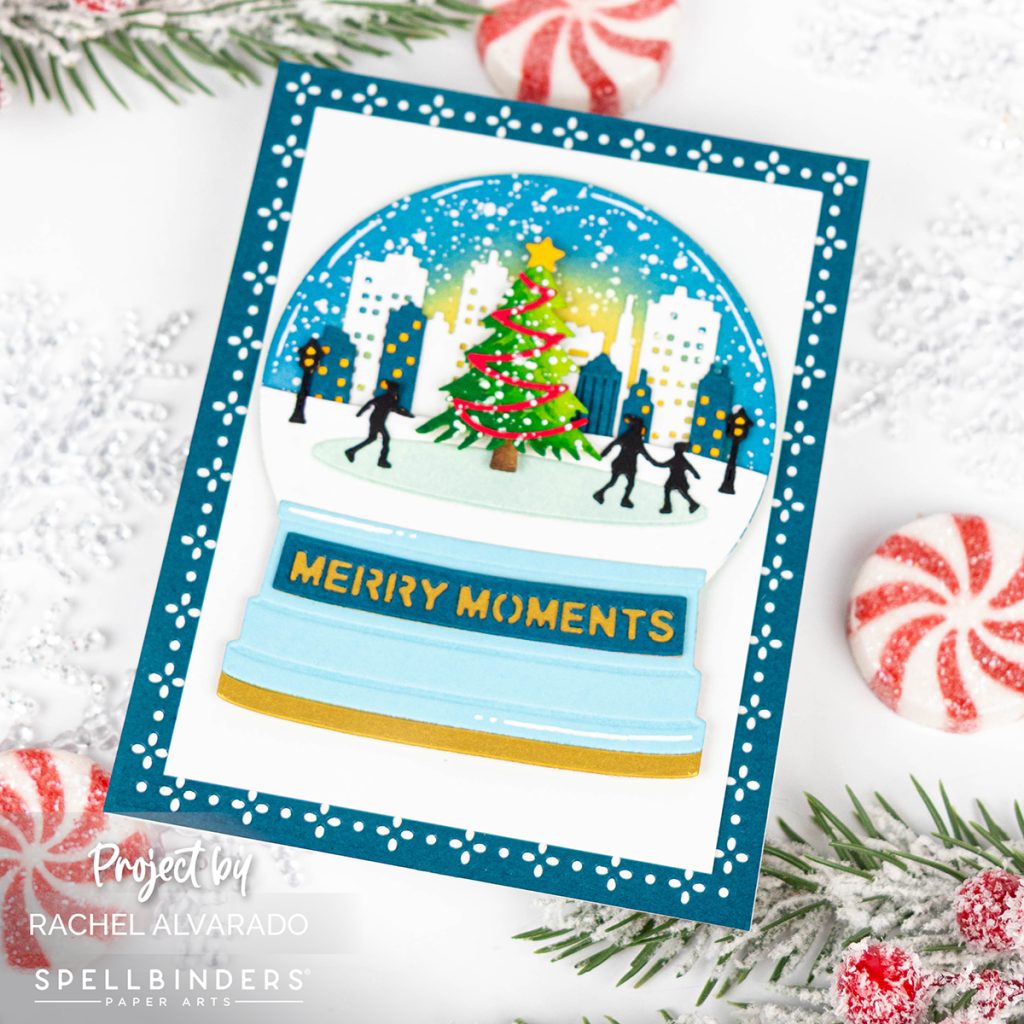
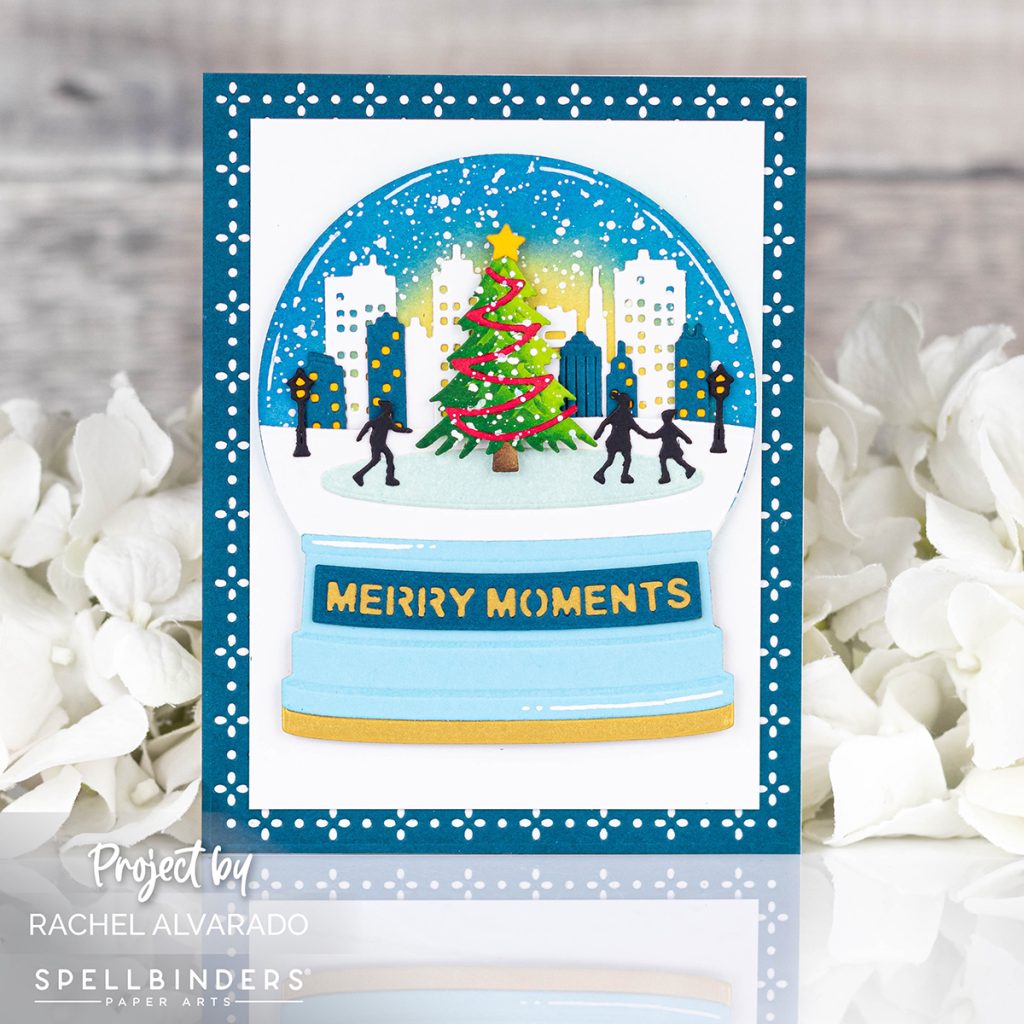
For my second card, I combined Simon’s Snow Globe Etched Dies with the new City Skating Etched Dies to create a fun ice skating themed card. I die cut my snow globe circle from smooth white card stock and blended it with Squeezed Lemonade and Uncharted Mariner Distress Oxide Inks. I used the yellow ink to resemble the lights from the city skyline and the dark blue to look like the winter night sky.
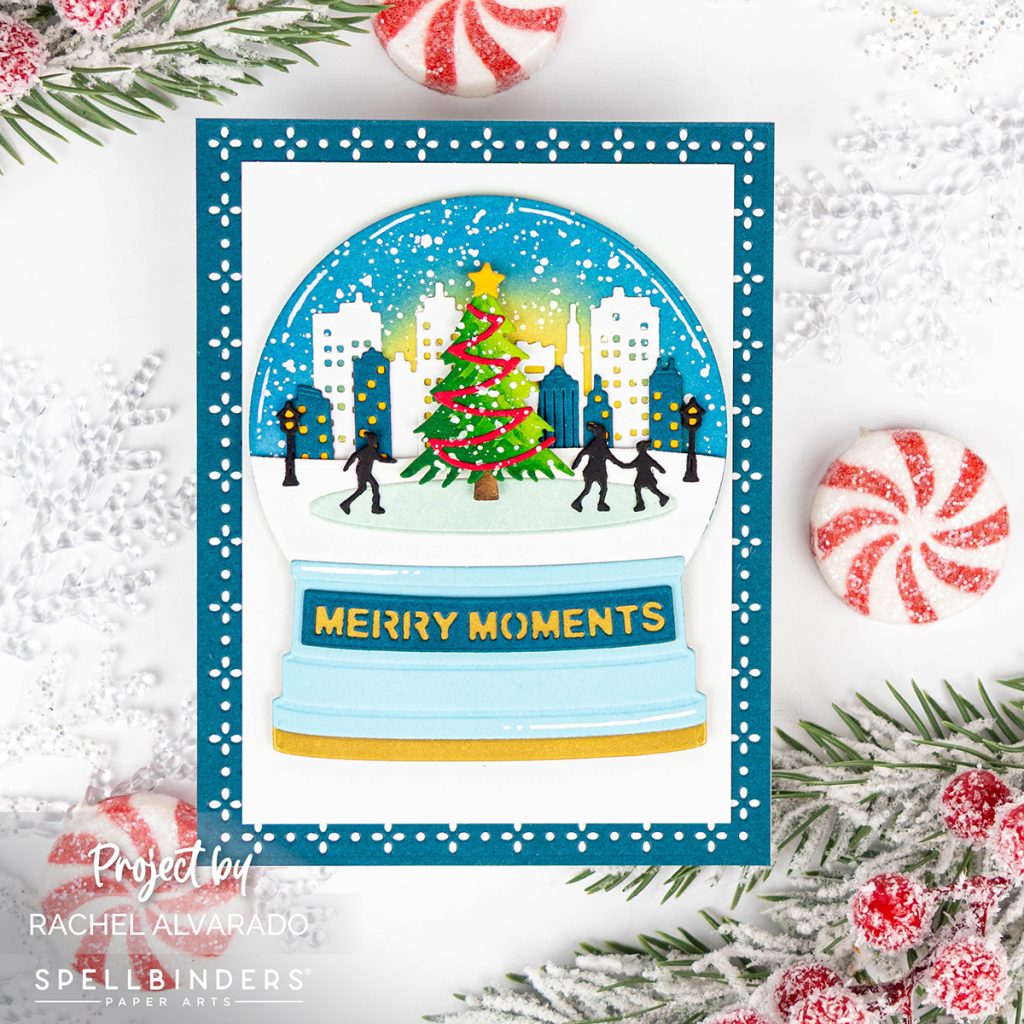
Once again, I added some white ink spatters to resemble snow and die cut the rest of my images from colored card stock pieces. I layered my completed snow globe on top of my card base which showcases a dark blue die cut using the new Quilted Etched Dies and a basic white card stock layer.

Thanks so much for taking the time to stop by! Make sure to follow me on Instagram for more card making inspiration!
Wishing you all a lovely day!

** Affiliated links were used where applicable at no extra cost to you. **



No Comments